Here's what you'll need:
- Fleece (Yardage depends on size & number you're making, but I cut each sham 22" wide.)
- Two 3-1/2"x 16" T-Shirt Knit Strips (So...since I rarely throw things away, I had been saving t-shirt scraps from the girls camp shirt project since last summer. And, that's what I used!)
- Thread
- Sewing Machine
Step One:

Cut your fleece to size, measuring along the selvedge edge 22" for a standard pillow case. Trim the selvedges off the piece (that's the portion of the edges that generally have writing and loom holes on them.) Now, I wanted my sham to have the little fold on the inside that hides the pillow (see photo below). So, folding one end back 6" with wrong sides together you create this pocket before sewing the side seams. I didn't finish the raw edge because I didn't want the bulk and fleece doesn't fray. But, you will need to finish the other raw edge that overlaps as it will show. Just fold under 1/2" and stitch (see photo below, right).


Step Two:
With right sides together, lining up the finished edge to the folded edge, sew side seams.
 |
| When aligning side seams, be sure your flap is on the outside! That way it will be inside when you turn it! |
Step Three:
 |
| Photo taken before I tapered the ends! |
Prepare t-shirt strips to make the ties by simply cutting to length. I then tapered one end at an angle because that looks more professional to me, but your choice! At this point, just put right sides together (Hint: With t-shirt knit the fabric tends to roll towards the right side at the edges.) Sew a narrow seam along the tapered end and the long edge, leaving one end open. Turn right side out.
Step Four:

Measure sham to find the center of the opening on both sides and mark with a pin. To attach the tie, fold it under to hide raw edge and sew two rows of top stitching for security. One to the side with the finished edge, the other on the folded flap. (Hint: Be sure to match your thread to the color of your fleece and tie. For example, I had navy in the bobbin and pink in the top thread.)


Step Five:
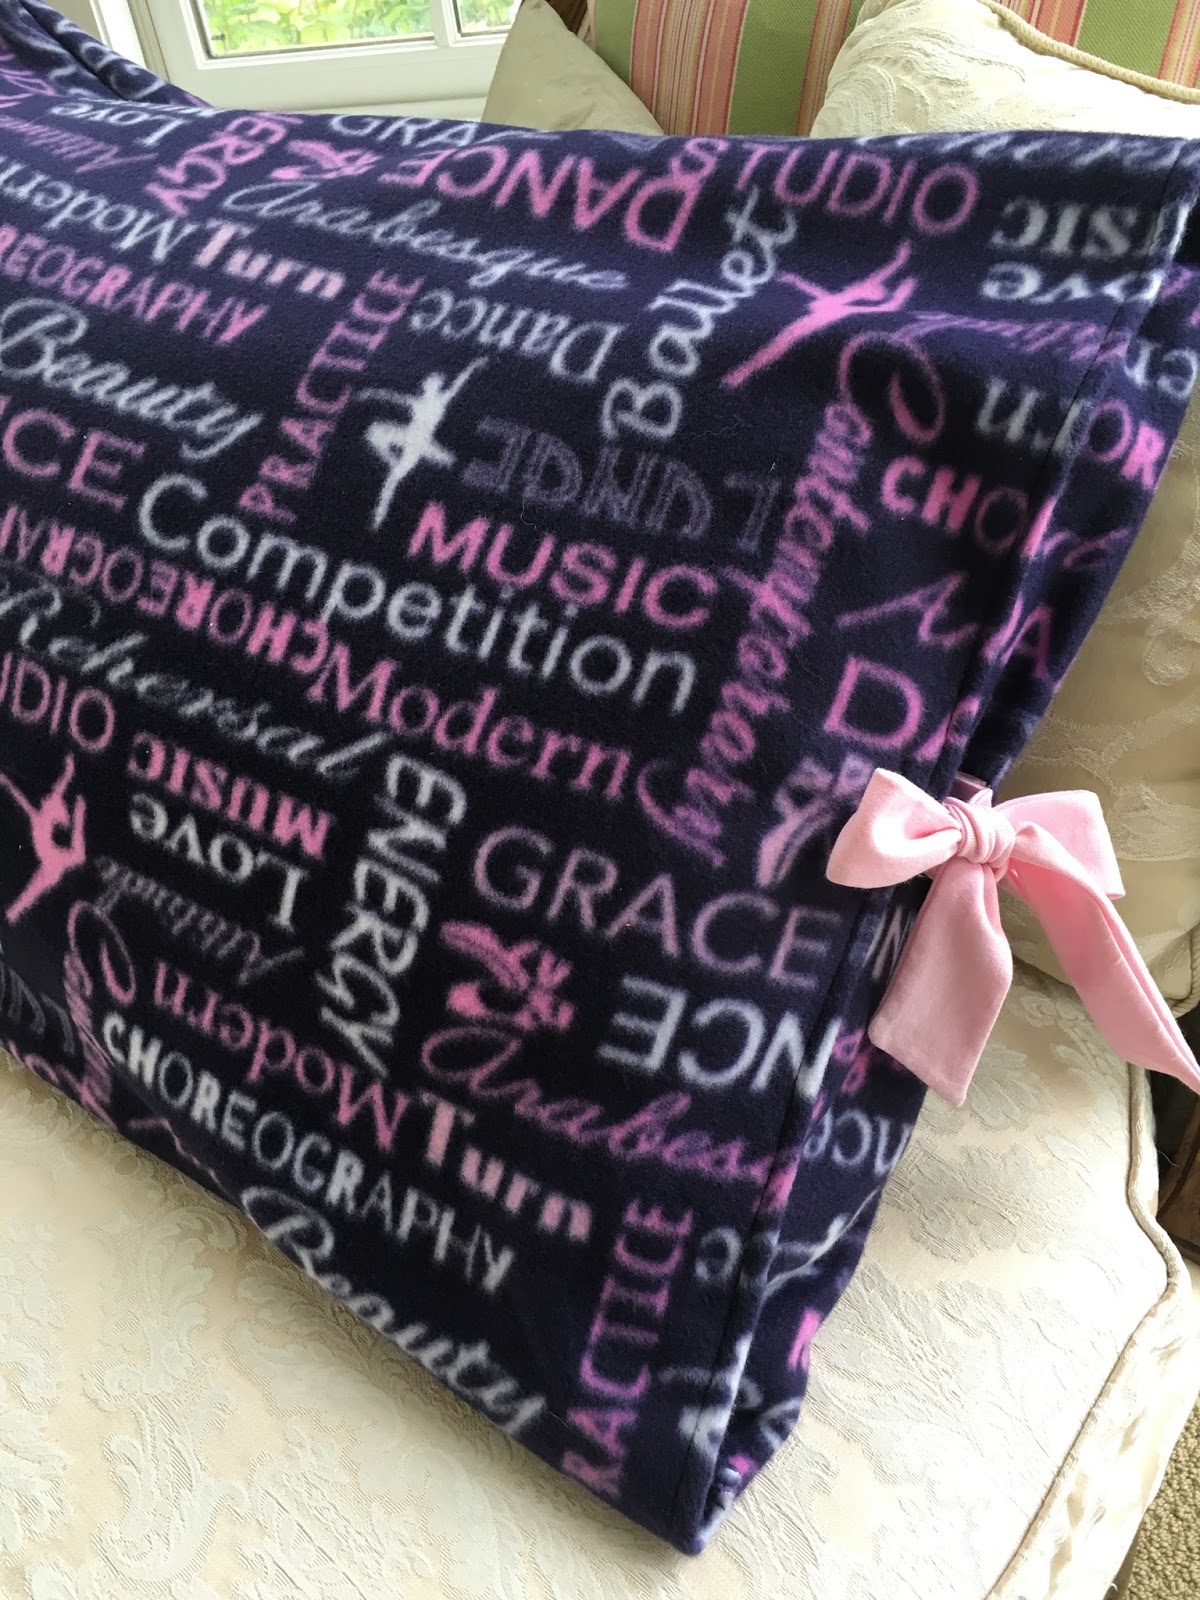
 Insert pillow, working it under the flap you created inside the pillow. Form the ties into a bow. Voila! You're done!
 |
| Finished Sham...cozy and practical! |
 |
| Here they are rolled and packaged in cellophane for the gift table! |
No comments:
Post a Comment