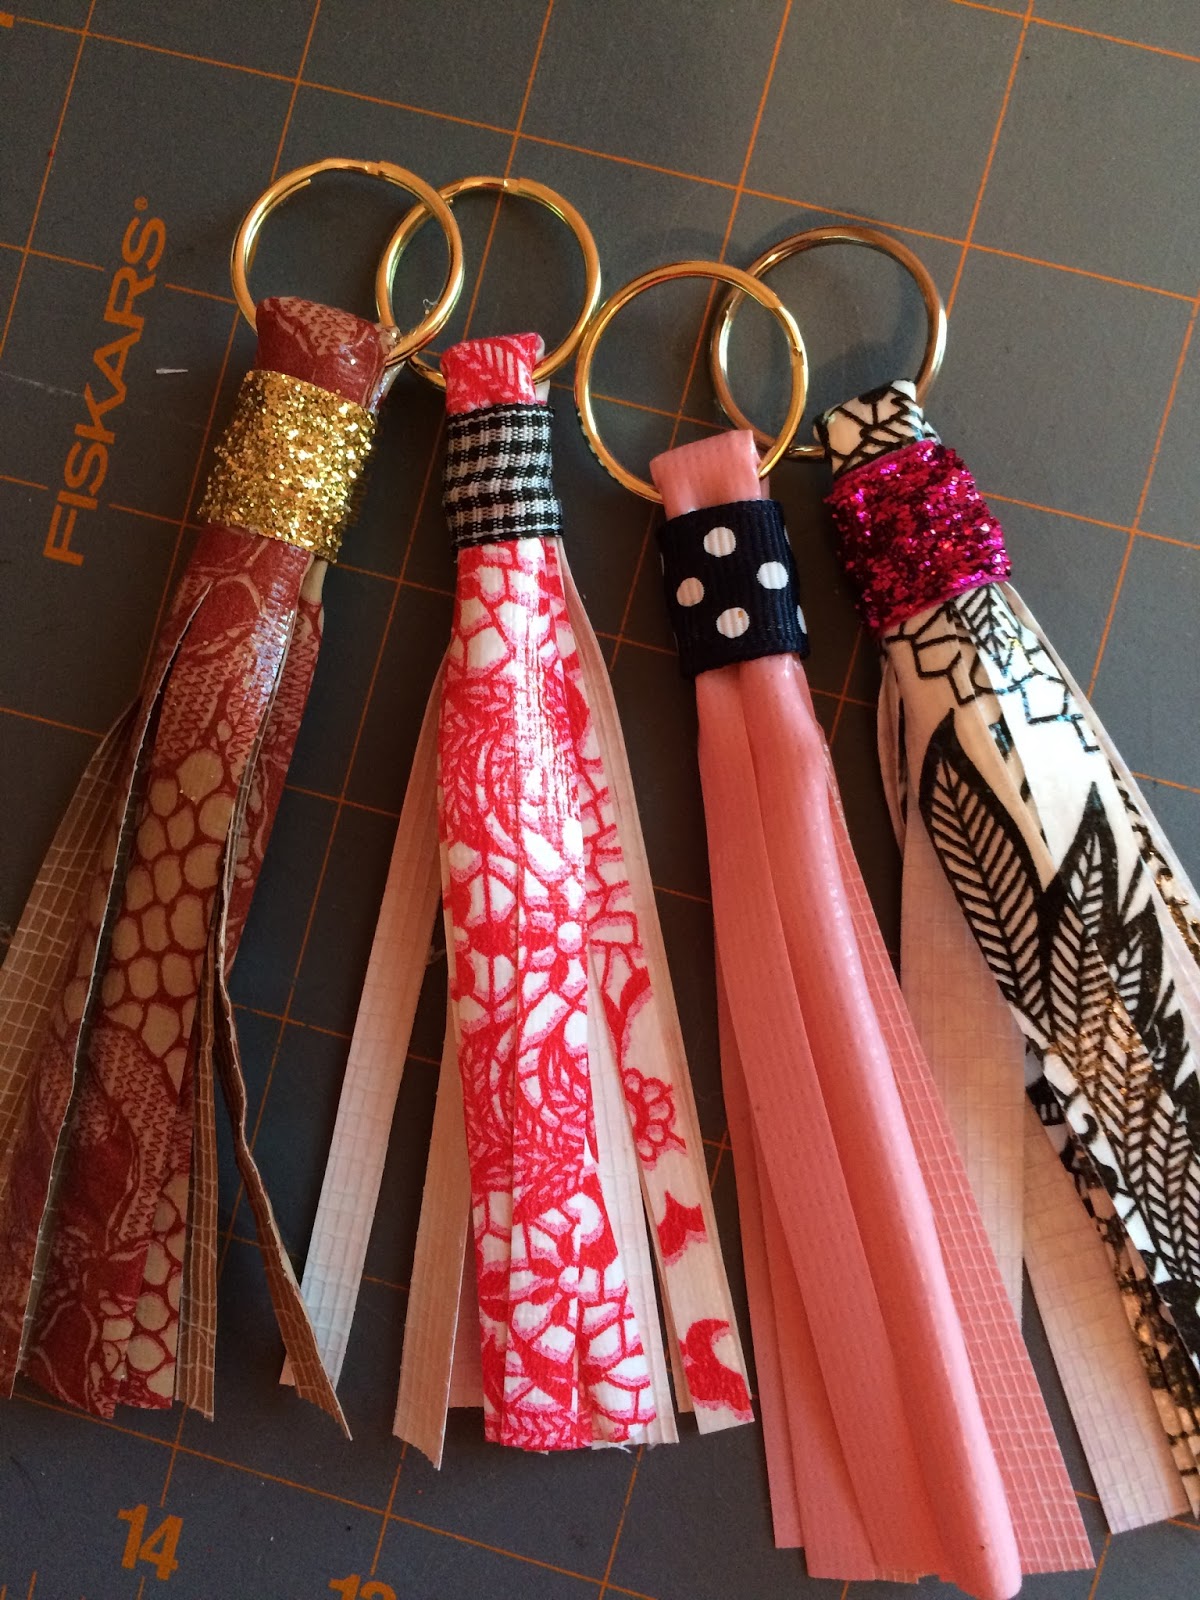
 I'm sure many of you have seen tassels popping up on everything from purses to necklaces to home decor, so I thought I'd share with you how I made some using scraps of oil cloth. They look really cute hanging from a lanyard, backpack or purse!
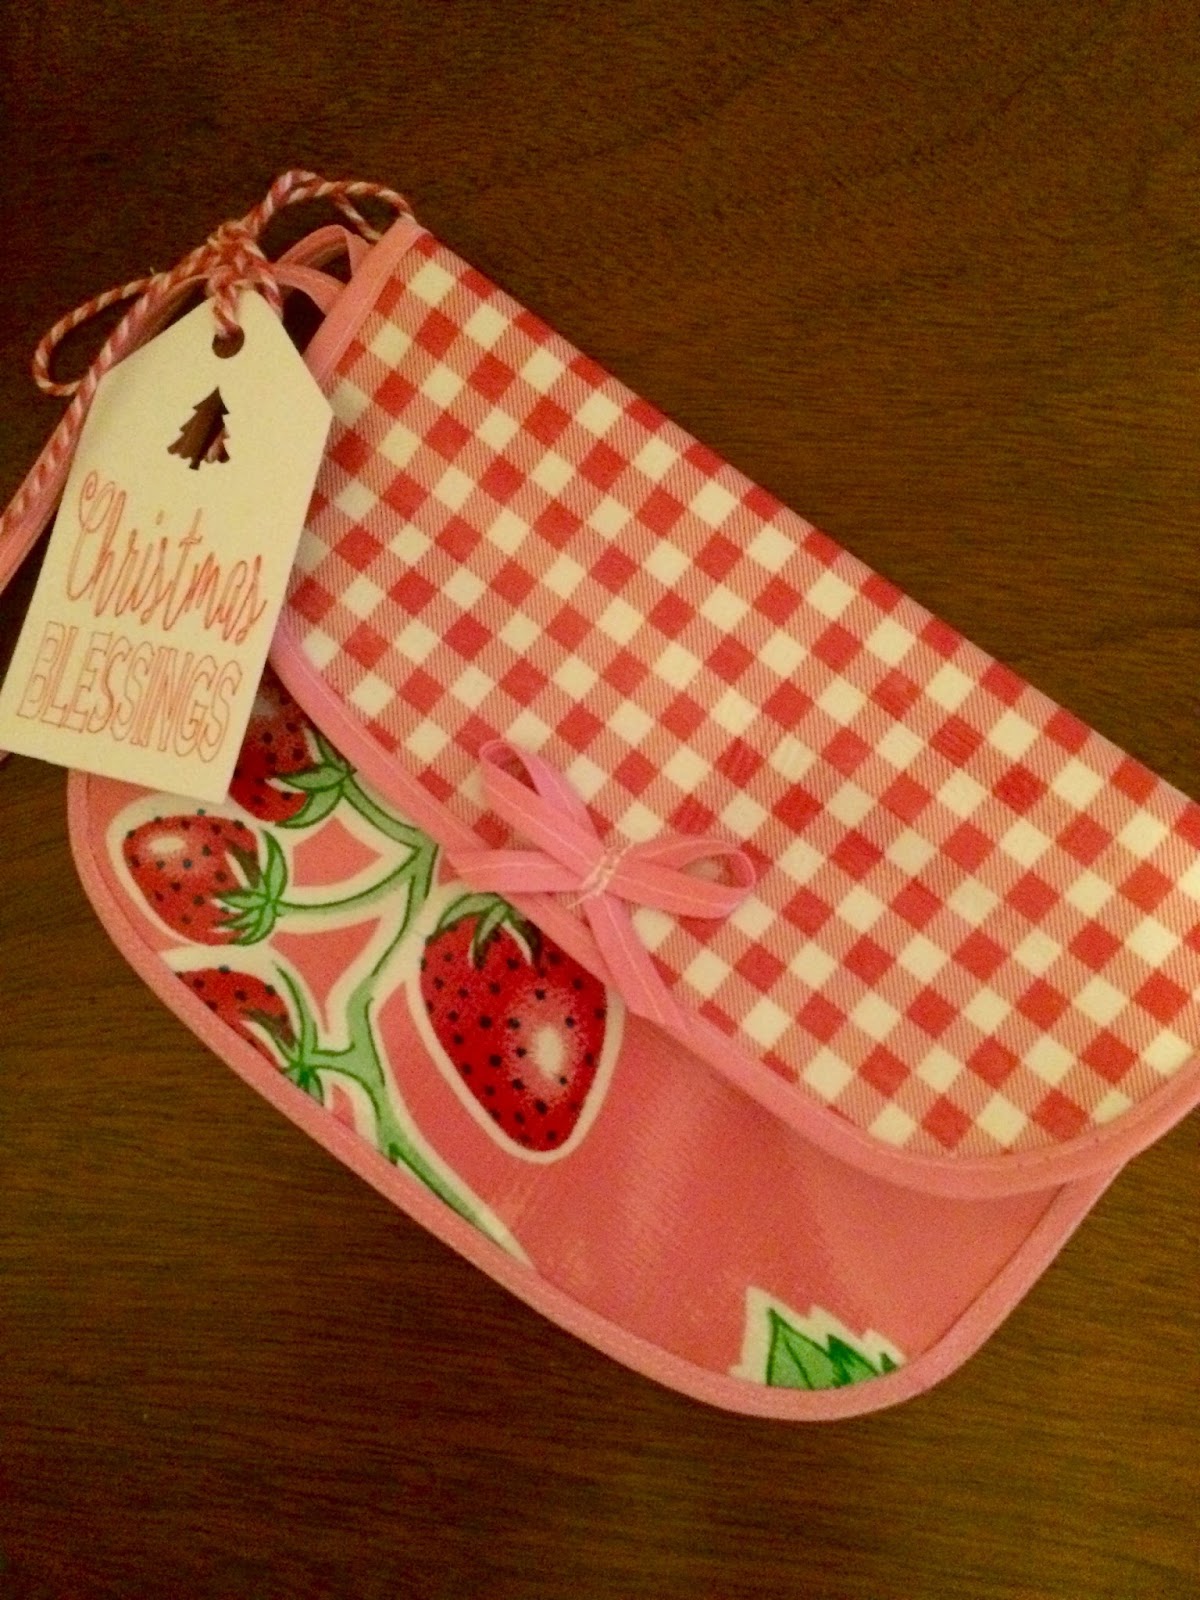
The last photo below shows how I customized the keychains for my oldest daughter's dance team motivation gifts for their first competition last weekend. I made each one in the team's colors, then after covering the rubber band with gold ribbon, I added some Dollar Store rhinestone trim. The tags I made on my Cricut Explore out of plain white heavy card stock (110 lb.). I'm kind of wishing I had laminated them because the girls loved them so much. If you look closely, I used Cricut's Design Space software to create a lock that has the opening and the end of a key in the shape of a Liberty Bell. Her dance team's name is the Liberty Belles... so, you can imagine I felt pretty clever right about then! I had the Cricut write the words on the shapes as well, the key says "YOU ARE THE KEY" and the lock says "SUCCESS."
What you'll need:
- Rotary Cutter
- Cutting Mat
- Oil Cloth
- Key Rings
- Ribbon Scraps
- Rubber Bands
- Hot Glue & Glue Gun
- Clothes Pin (Optional)
Here's how to do it!
- Using rotary cutter; cut strips of oil cloth 10" or 11" long by 3" wide.
- Fold strips in half, and cut starting 1" to 1-1/2" from the fold to the raw ends every 1/4" to create fringe. **Be sure to put lots of pressure on your ruler to prevent slipping!
- Open strip out flat (center will be uncut, with fringe on either side).
- Roll from one side, stoping short to fold under the end, and complete the roll.
- Clamping with a clothes pin coming in handy at this point...then feed one end of the fringe through the key ring.
- Fold the strip in half over the side of the ring, be sure to match the ends of the fringe.
- Using a small, narrow rubber band secure the folded strip just below the key ring.
- Hot glue ribbon over the rubber band to conceal it.
Step-by-Step Photos:


