 It's a boy! Three wonderful words for any soon-to-be parent to hear, don't you think? Well, the lucky parents-to-be in this case happen to be my oldest daughter's dance team coach and her husband. Since we love to throw parties at our house, we hosted the team shower here. Of course, I thought I'd better share some photos of the goodies I made with you all, both of the crafty and the sweet variety.
 Let's start with the crafty...as usual most items were designed with my PrintShop2 for Mac. I began where all good party planning does with the theme and invitation design. The mommy-to-be had already decided on a woodland critters theme for her nursery but was having another shower with this theme, so I found clip art from my collection of a vintage pen and ink drawing of a boy feeding a lamb to tie in with the animals but give it a different spin. You'll notice I added a tiny monogram of the baby-to-be's initials to the back of the collar. Here's the finished product...minus the details...sorry, but can't be too careful these days! I printed them on blank card stock invitations (I've mentioned them before, I know!) purchased at Target. $9.99 for 50!
If you've read my older posts, you know I like to make my own party decorations. It just gives a party that really personalized feel, making the person you're throwing the party for feel extra-special! So, I started with a banner for the mantle. Now, I know you might be thinking...they're super trendy... but you must admit they look really cute in a room where the fireplace mantle is always the focal point. Okay, so with that said, in keeping with my invite I used the same artwork and the always classy monogram. (The monogram was created on my iPhone on a free app, then emailed to my computer for use.) I like to actually stitch my paper banners on the sewing machine because, in my humble opinion, it looks better than tape or glue, and is much sturdier. I use narrow double-fold seam binding instead of ribbon, it's cut on the bias so it drapes to a curve very easily. In this case, I alternated my simple designs of the boy with lamb and the monogram. (Be sure it's an odd number of flags, it looks better people!) I finished it off with some tulle rosettes and a vintage covered button. The other decorations included a selection of vintage baby bootie vases with flowers, a squirrel figurine, topiaries and a small chair. Oh, and I forgot to pan down when photographing that I used a vintage baby crib to hold all the gifts! You'll just have to use your imagination, I guess.

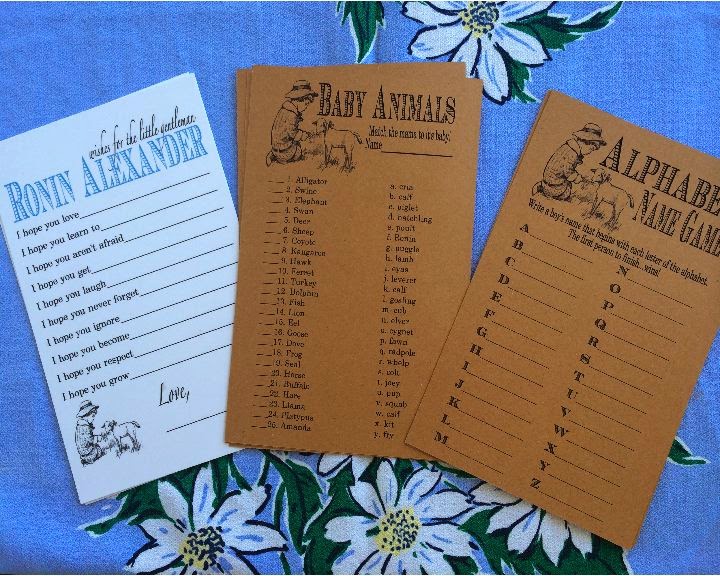
Of course, it wouldn't be a baby shower without games and prizes. Staying with the animal theme we played a baby animal matching game (hilarious with a bunch of teenage girls), but we also played the traditional alphabet baby name game and 'how big is the mommy-to-be's belly' game. In addition, I had seen some 'wishes for baby' cards on Pinterest and made my own version as a keepsake for the new family. You'll notice all the game cards included to boy with lamb artwork. Continuity is really important when creating a theme!
Below are the prize bags, too! It's the first time I printed directly onto a small brown lunch sack. Here's what I learned through trial and error...be sure the print on the side without the seam, feed the bag through top first, and fold down that top edge so it's not raw. Luckily, they're cheep so no big loss. Amazingly, I didn't even jam my printer! After printing, I folded a dessert paper (like a cupcake liner) over the top, hole punched through all layers and laced it with blue satin ribbon. (If you've never done this, just feed both ends of the ribbon through the front side of the project, pull and even ribbon, then feed the ribbon from the backside through the opposite hole back to the front, trim ribbon at an angle. Voila!)

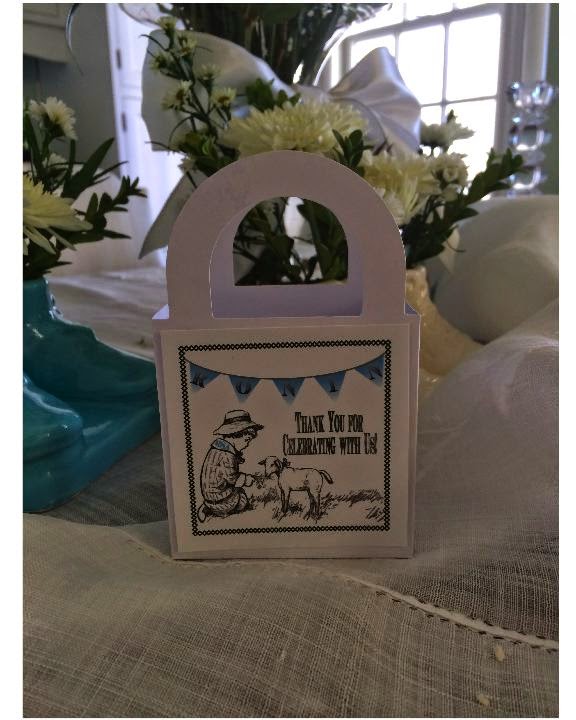
Lastly, I made some favors for the team to take with them...chocolate favors in blue and silver, of course! I've used these simple, white Dollar Tree boxes before and at 12 for $1 it's hard to beat the price. I use the label layout in PrintShop2 to print a whole sheet of images at a time onto card stock. Once again, I repeated the use of the boy with lamb clipart on the favor tags and fastened them on with double stick tape.
Now...onto the food! Our shower was held at 2 o'clock so we just served dessert. Blue desserts, to be precise. It's surprising how few blue foods there really are... well, maybe not so surprising. Anyway, I decided to give an ombre-colored cake a try. Very cute! I used store bought white cake mix, and be sure to use egg whites only when preparing it because it will give you the whitest batter. I used a 12" round, so it's one box per layer which made it easy to mix the colors in. But, if you're making a smaller cake you'll need to divide the batter. I used a blue gel food coloring...15 drops for the darkest layer at the bottom, 8 drops for the middle layer and none in the top layer. Don't panic if the color looks different on the outside when baked, mine looked a little green, (blue & yellow makes green, afterall) but once you slice into the cake it will be true blue. My filling was white chocolate buttercream (recipe on Food & Wine website), and cream cheese on the outside. Had I had more white chocolate I would have used it for the whole cake because it's so nice and white. But, if you do, remember to let it come to room temperature before serving because it hardens in the fridge unlike a regular buttercream. But oh, man...Yum! The decoration is just simple blue and white piping with a medium round tip, a flat serrated tip and an open star tip. The little accent dots you see in the photo are actually edible pearl beads. I free handed the monogram, but you could use a toothpick to map it out before you pipe. I'm no professional, but I think it turned out pretty cute. And, much less expensive than a bakery cake! One tip...don't overmix your cake batter, just mix until incorporated! Over beating is what makes it have the dome in the middle that you then have to waste to even the layers.

The other goodies included white and blue swirl fudge, blue cream cheese brownies (just a few drops of blue food color into the cream cheese mixture), white and blue pretzels, French chocolate school-boy cookies (Lu brand), nuts and 'black' (almost blue) grapes. I like to display things at varied heights, and also incorporated a few classic childrens' books around the desserts. It was all served on vintage ribbed-glass dessert sets. We had blue punch and coffee, as well.
Opps, I almost forgot! My youngest also made some really cute little name tags for the soon-to-be Mommy and Grandma... unfortunately this is the best picture I have of it! Argh! I'll get better at this eventually ;) She used that free monogram app, printed the image, laminated it, then glued it to some ribbon-embellished tulle. The whole thing was then glued to a clothes pin. So sweet!
Now all that's left to do is wait for this new baby's safe arrival! Can't wait!
 If you've read my blog, you know I'm a bit of a dance mom...not the "Dance Moms" style dance mom...I'm nice. So, I love to spoil the girls on my oldest daughter's team with fun little treats at each competition. Here's a bunch of the favors I've made over the last couple years that I thought I'd share, many from themed football game performances or state routines. (All are made very inexpensively with Dollar Store finds, candy and a little computer graphic design work.) I'll continue to add photos of my latest projects to this post, so be sure to check back often!


