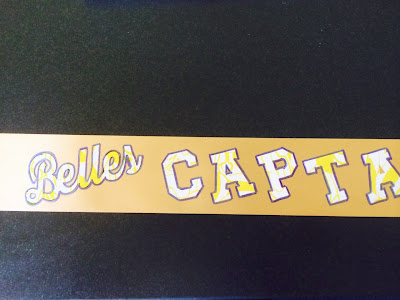
I've got a little extra time today, so I thought I'd squeeze in another post! As any of my readers know by now, I'm a dance team mom and I like to make the team fun little goodies. This time around it was a simple sash for the new team captains. And, you know that feeling when you think something is going to be really easy the way you've planned it out...then it goes all wrong? This was one of those times. I started just as I do with many of my projects, with a trip to my local JoAnn's. I bought floral ribbon instead of satin fabric ribbon to save a bit of money...a mistake. At home, I sewed the shoulder seam at just about a 45-degree angle on what would become the right shoulder. I cut the ends of the ribbons at alternating angles so it would look pretty when crossed on the hip. I also finished these ends with some metallic ribbon I had on hand (see below). With the sashes made, I made a stencil out of contact paper on my Cricut, and painted the negative space with acrylic paint. Sounds good, right? Well, not so much. I think because floral ribbon is basically waterproof, the paint just peeled right off along with the stencil. Oops!
 |
| Stenciling gone wrong. |
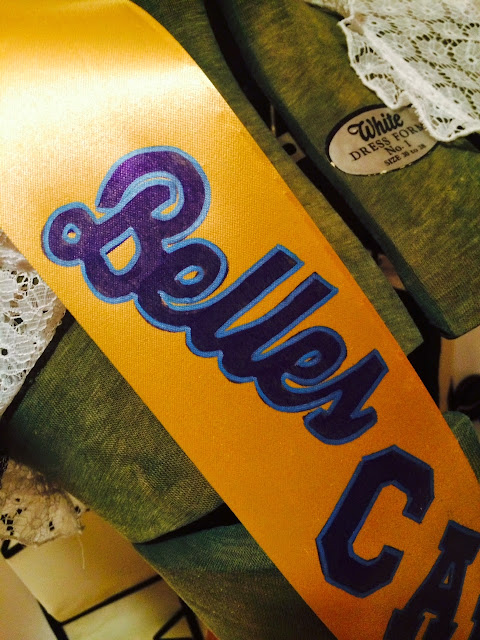
Not one to give up easily, I used the other portion of my stencil and outlined the letters with a Sharpie. Then, I peeled off the stencil and filled in the letter with the marker. It looked a little plain so I outlined it with a metallic blue Cricut marker, perfect! I figure if you don't have a Cricut, this method would work with store bought vinyl letters so it's a better solution all around. Now, I do have a picture of the girls wearing their sashes...but I won't post that without their approval (they are the selfie generation, after all)! Needless to say, they loved them and will make great team captains for the upcoming season! Go Belles!
 |
| Outlining the letters with Sharpie |
 |
| Every project needs some glitter, right!? |
 |
| Finished Sash! |


No comments:
Post a Comment