Wednesday, March 2, 2016

Quick & Easy Star Favors or Motivators


 As promised, lots and lots of projects this week! Here's another new one to share that's super quick and simple... and, I've even included a free printable of the tags I made.  I purchased the star wands at Walmart on clearance, but I've seen the same wands at both Target and The Dollar Tree.  After printing the tags, I cut them apart on my paper cutter, cut a sparrow's tail (I think that's what it's called!) at one end, than used a glue gun to affix it to the wand (sort of wrapping the blank side of the paper to the back.) I'm planning on selling these at our competition gift table as a sort of gift topper to slide under a ribbon or tuck into a flower bouquet.  But, I think they'd be cute as a team favor or motivator, as well.  Of course, you could personalize the tags with your team name.  You'll just need to format the lettering to the right half of an 8 1/2" x 11" paper. 

That's it, you're a star! Get it ;) 


Here's your FREE printable!


Tuesday, March 1, 2016

Fleece Dance Team Blankets...Take 2!

As I mentioned yesterday, I've got lots of projects to share this week! Some are new, like yesterday's, but this is just an update on a project I posted in January of 2015... Sorry most of the blankets are in cellophane, I forgot to photograph them before I wrapped them for our gift table! Opps!

Unlike my first post, this time around I purchased the blankets pre-made at my local Walmart for less than $5 each...a real steal! And, I mostly used glitter iron-on vinyl for that extra bling the high school girls love.  But, some of the letters are made of scraps of satin backed with Heavy Duty Heat n' Bond and cut on my Cricut machine.  You need a sharp blade, and be sure to use the custom setting for backed silk fabric.  I've also figured out that if you put a rectangle around your letters when formatting on Cricut Design Space, you can use the positive and negative sections of the cut (see photos), because let's be honest, glitter vinyl is expensive!  This means you need to be careful when separating the letters to be sure you have the centers to letters like A, but I have faith you can do it! 


Here's some details:

  1. Back your satin with fusible fabric stabilizer. (I used, Heat n' Bond Lite...the Heavy duty will gunk up your sewing machine so only use it for letters you're not sewing around!)
  2. Format lettering on your Cricut or Silhouette Machine. Be sure to layer on a rectangle behind the letters.  And, don't forget to use the mirror setting for cutting iron-on vinyl!
  3. Carefully separate the vinyl letters so you can use both positive and negatives of the cut.
  4. You're now ready to heat up the iron to medium-high setting;  iron the satin rectangle to the blanket (Cover with a pressing cloth or old pillow case or you will melt the blanket and the satin!!) 
  5. Next, iron the vinyl letters to the satin...again, cover with your pressing cloth.
  6. Lastly, I finished the edge of the satin with a tight zig-zag stitch around the edges because even with the fusible stabilizer it won't really stay without it!


Here's a couple of the finished blankets...


Sunday, February 28, 2016

Practice Hair...Do Care! Sparkly Headband Dance Team Gift or Favor


     It's March, and that means that my daughter's dance team is hosting their annual high school dance team competition. Long story short, I've got lots of gift table ideas to share!  This year is especially important to us because it's the 10th anniversary of the event.  Which means lots of extra touches of shiny metallic and bubblegum pink in everything from the competition t-shirts to the photo booth to the decorations! We want it to be memorable, and of course, fun!  So, here's the first of many projects I'll post in the next week or so.  You've probably all seen the phrase, "Beach Hair Don't Care" on everything from tank tops to water bottles.  But, here's my dance team themed take on it, "Practice Hair Do Care!"  After all, life is not a dress rehearsal!  I've added a .jpeg file for you to use for free, just simply make or buy glittery headbands to attach to the printed cards.  

     After printing the image onto card stock, I used a craft knife to make two slots at either end of the card to slip the ends of the headband through.  I taped it down on the back of the card to hold it in place. I then slid the card into a cellophane bag (from the Dollar Tree) and positioned it to one side, taping the excess portions to itself to create a tidy package.  It's just that simple! And, do care!

Here's the FREE .jpeg file for you to use!


Monday, November 16, 2015

Oil Cloth Tassel Key Chains!

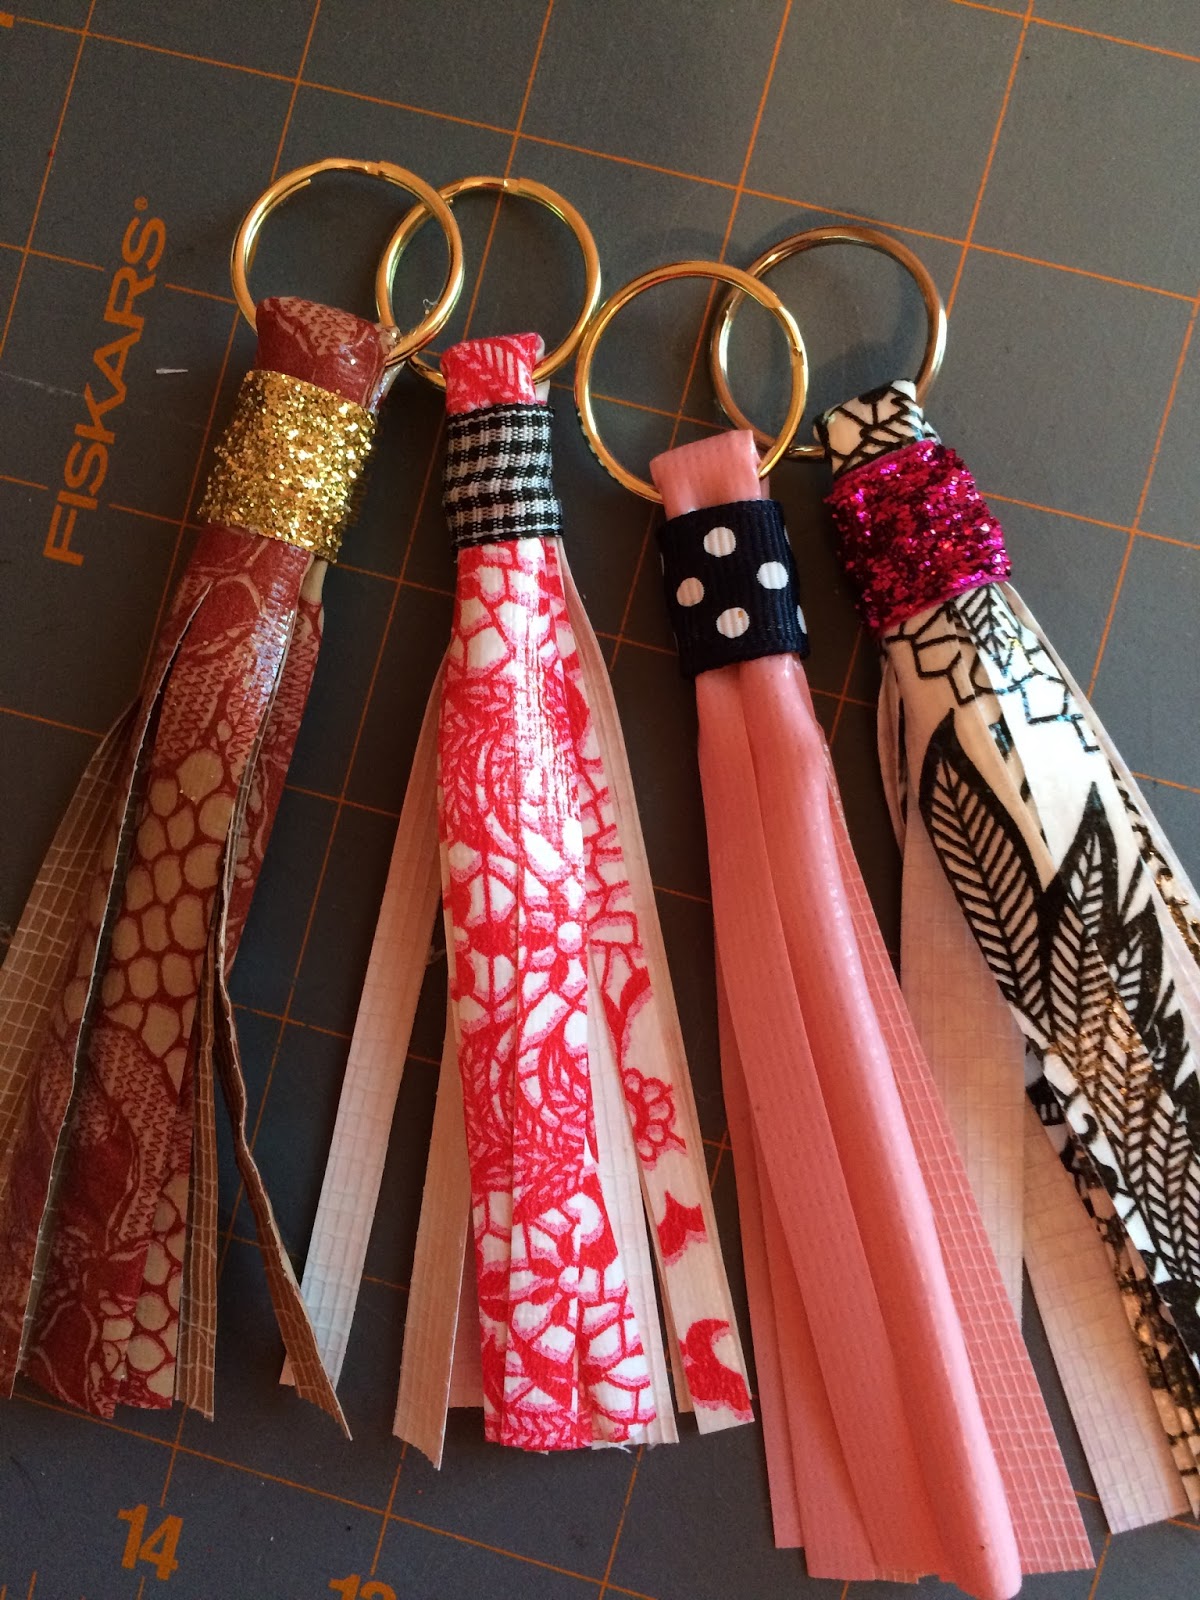
I'm sure many of you have seen tassels popping up on everything from purses to necklaces to home decor, so I thought I'd share with you how I made some using scraps of oil cloth.  They look really cute hanging from a lanyard, backpack or purse!

The last photo below shows how I customized the keychains for my oldest daughter's dance team motivation gifts for their first competition last weekend.  I made each one in the team's colors, then after covering the rubber band with gold ribbon, I added some Dollar Store rhinestone trim.  The tags I made on my Cricut Explore out of plain white heavy card stock (110 lb.).  I'm kind of wishing I had laminated them because the girls loved them so much.   If you look closely, I used Cricut's Design Space software to create a lock that has the opening and the end of a key in the shape of a Liberty Bell.  Her dance team's name is the Liberty Belles... so, you can imagine I felt pretty clever right about then!  I had the Cricut write the words on the shapes as well, the key says "YOU ARE THE KEY" and the lock says "SUCCESS."  

What you'll need:

  • Rotary Cutter
  • Cutting Mat
  • Oil Cloth
  • Key Rings
  • Ribbon Scraps
  • Rubber Bands
  • Hot Glue & Glue Gun
  • Clothes Pin (Optional)

Here's how to do it!

  1. Using rotary cutter; cut strips of oil cloth 10" or 11" long by 3" wide.
  2. Fold strips in half, and cut starting 1" to 1-1/2" from the fold to the raw ends every 1/4" to create fringe.  **Be sure to put lots of pressure on your ruler to prevent slipping!
  3. Open strip out flat (center will be uncut, with fringe on either side).
  4.  Roll from one side, stoping short to fold under the end, and complete the roll.
  5. Clamping with a clothes pin coming in handy at this point...then feed one end of the fringe through the key ring.
  6. Fold the strip in half over the side of the ring, be sure to match the ends of the fringe.
  7. Using a small, narrow rubber band secure the folded strip just below the key ring.
  8. Hot glue ribbon over the rubber band to conceal it.

Step-by-Step Photos:


The Bazaar Finish Line


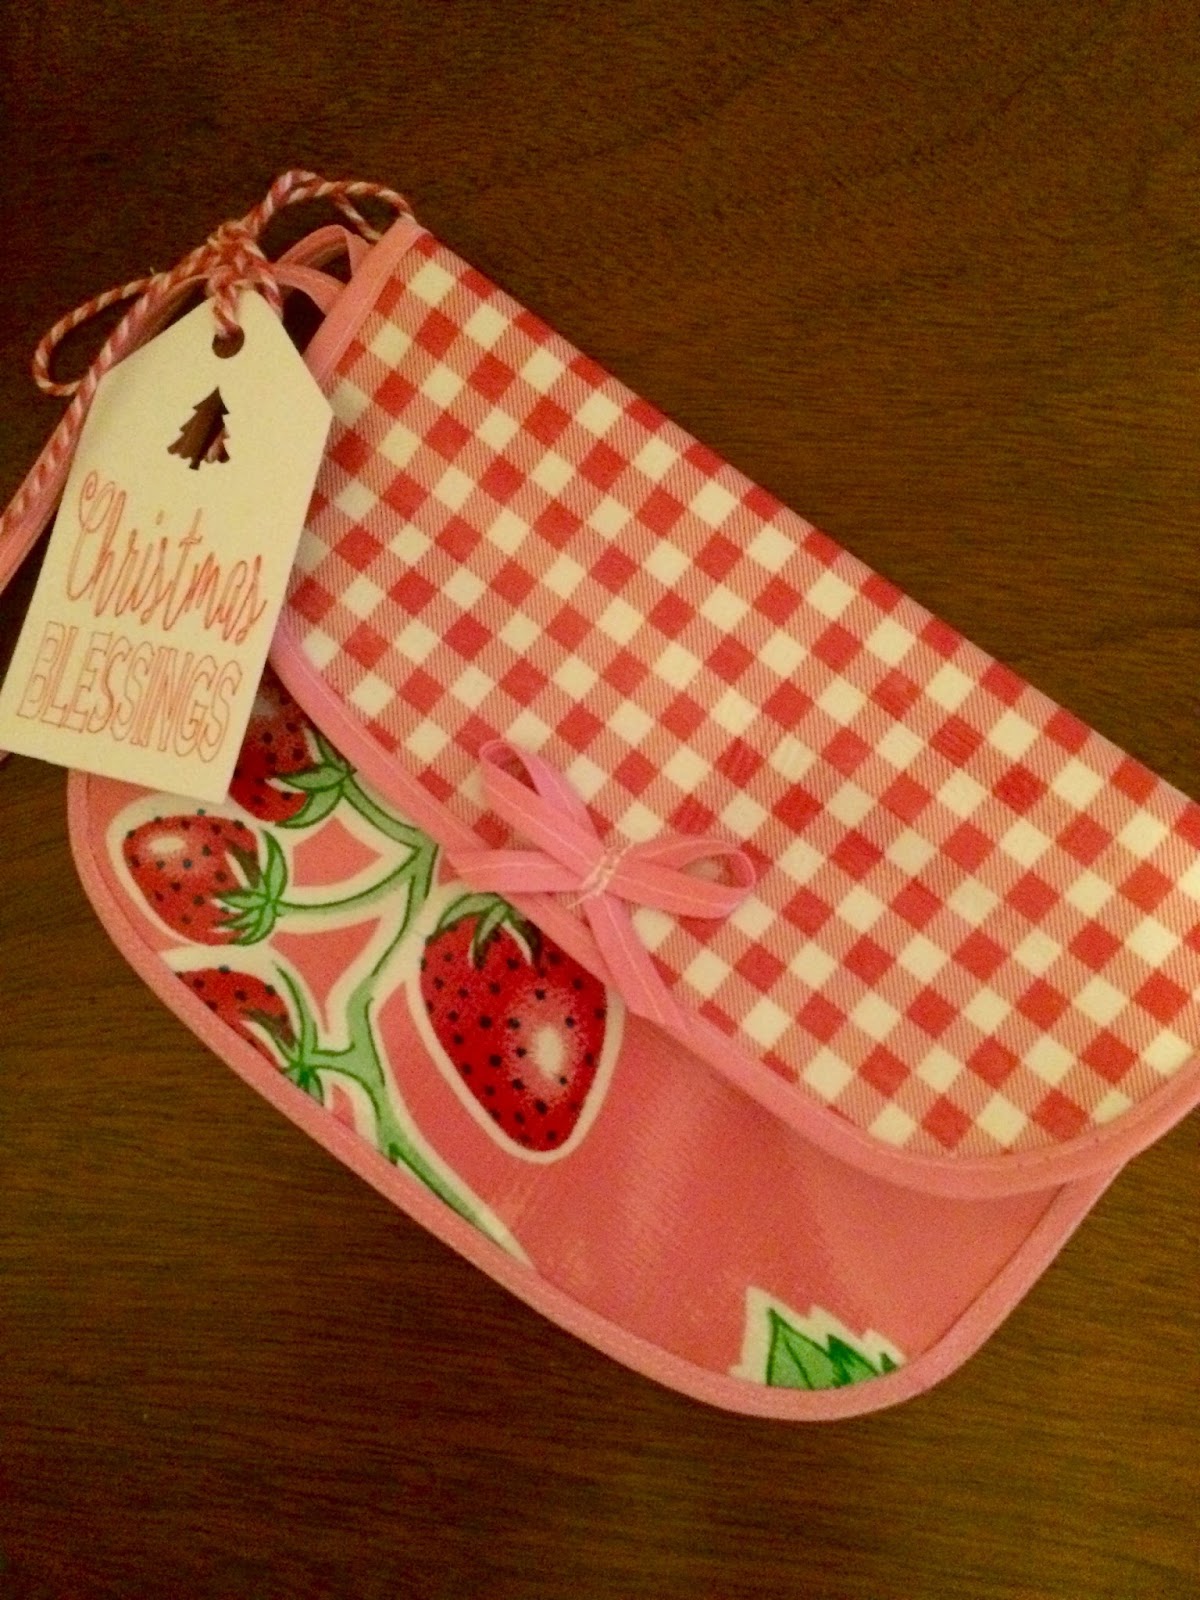
"We plan, and God laughs."  Too true when looking back on this past weekend's Christmas Bazaar.  I've been working for months to build up my inventory and variety of craft items (which was packed onto my small half table space), and ended up having very low sales.  I will concede that the sale was over a long holiday weekend (so many families may have been out of town) and my table was towards the back of the large community center, but disappointing to say the least. Live and learn.  I'm still glad I did it, because now I have lots of cute projects to share with you all! I'll be detailing the oil cloth tassel key chains, and how I customized them for my daughter's dance team this past weekend in my next post.  In the meantime, here's some close-ups of the items from the bazaar.  Hopefully, you find some inspiration for your own holiday crafting!


Friday, October 16, 2015

Christmas Bazaar Countdown


Christmas Rag Wreath...a great way to get rid of fabric scraps!
Well, I lied.  I said I would be sharing Christmas bazaar projects back in July and here it is October!  I've found it hard to stop making things just to write a post.  But with only a month left to go until my first foray into the bazaar world, I'm making good on my promise.  Here you'll see some photos of the types of things I've been working on.  And, truth is, I have no idea how much I should be making for a bazaar that lasts 4 days...but I'm guessing a lot!  Can you sense the panic in my voice, because I definitely feel it.  So I'll keep crafting, and let you all know when it's over how it went and what were my big sellers.  Until then, I'd love to hear what you think of what I've made so far! 

Paper Cone Trees with Vintage Wrapping Paper...I added sparkly stars after this photo was taken!


Jingle Bell Ribbon Wands

Graphic Canvas Art

Gift Card Holders

Flour Sack Gift Sets
Simple Blank Christmas Cards...whose photo mysteriously flipped and won't change!!